에셋 툴과 강의는 위 링크 채널의 강의를 참고했습니다.
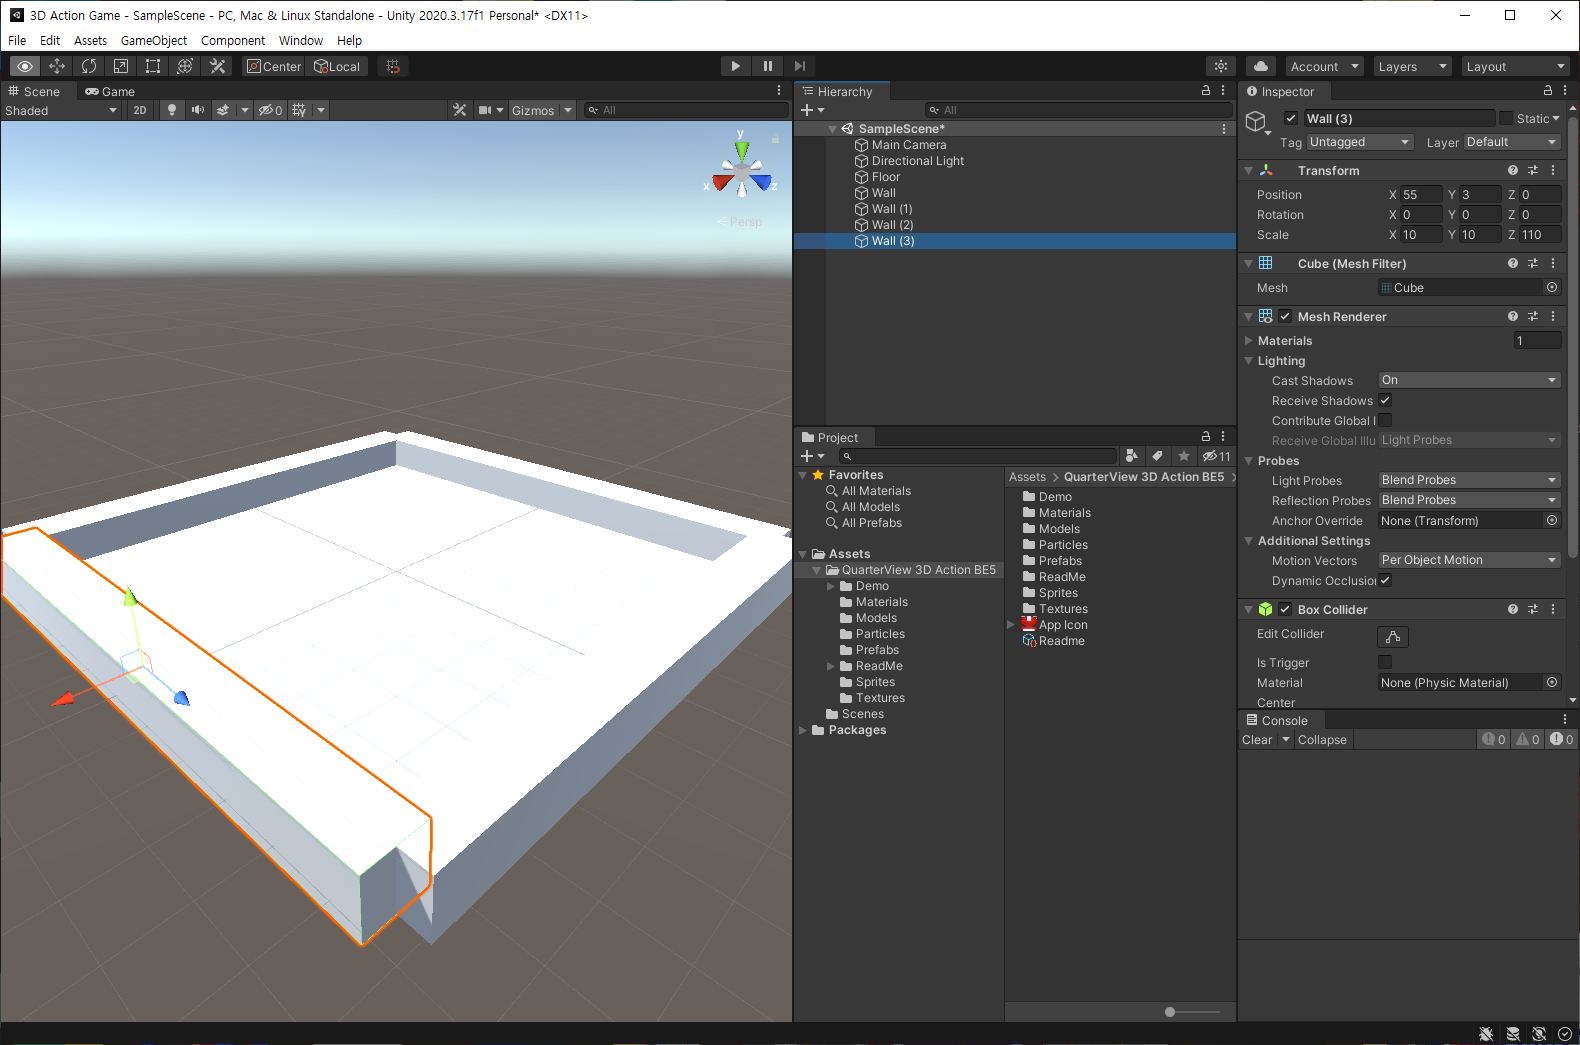
큐브를 이용해 바닥과 벽을 만들어줍니다.
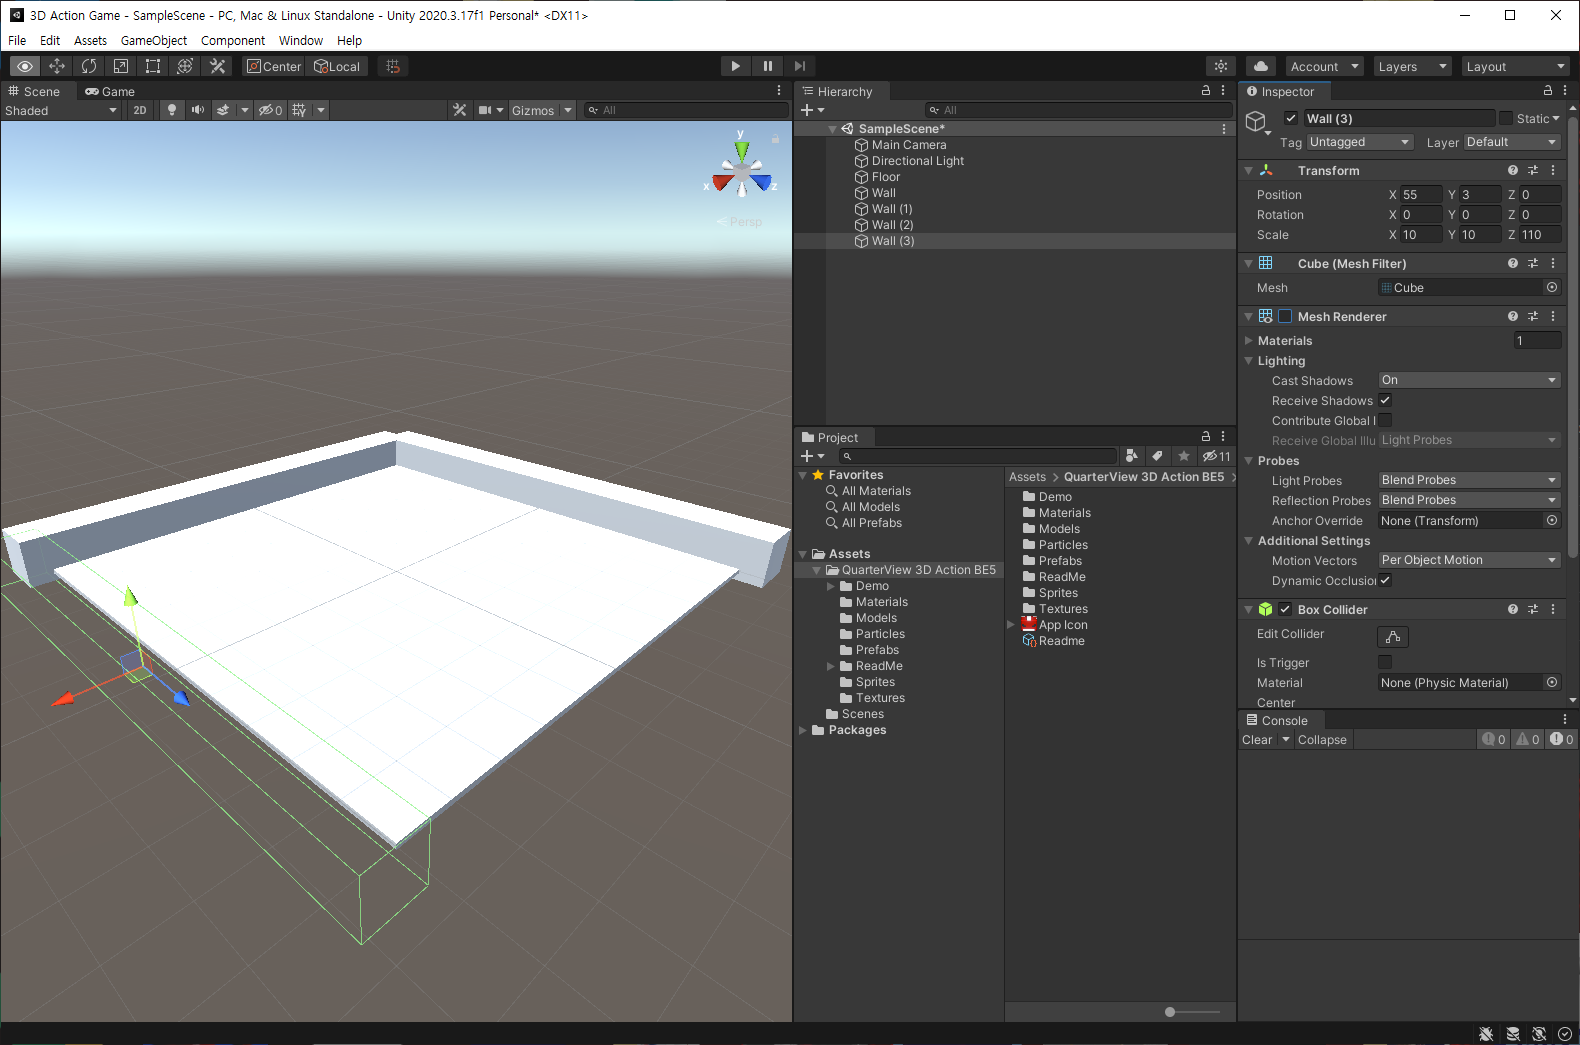
시야를 가리는 벽은 매쉬랜더러를 꺼서 충돌은 하나 보이지 않게 해줍니다.
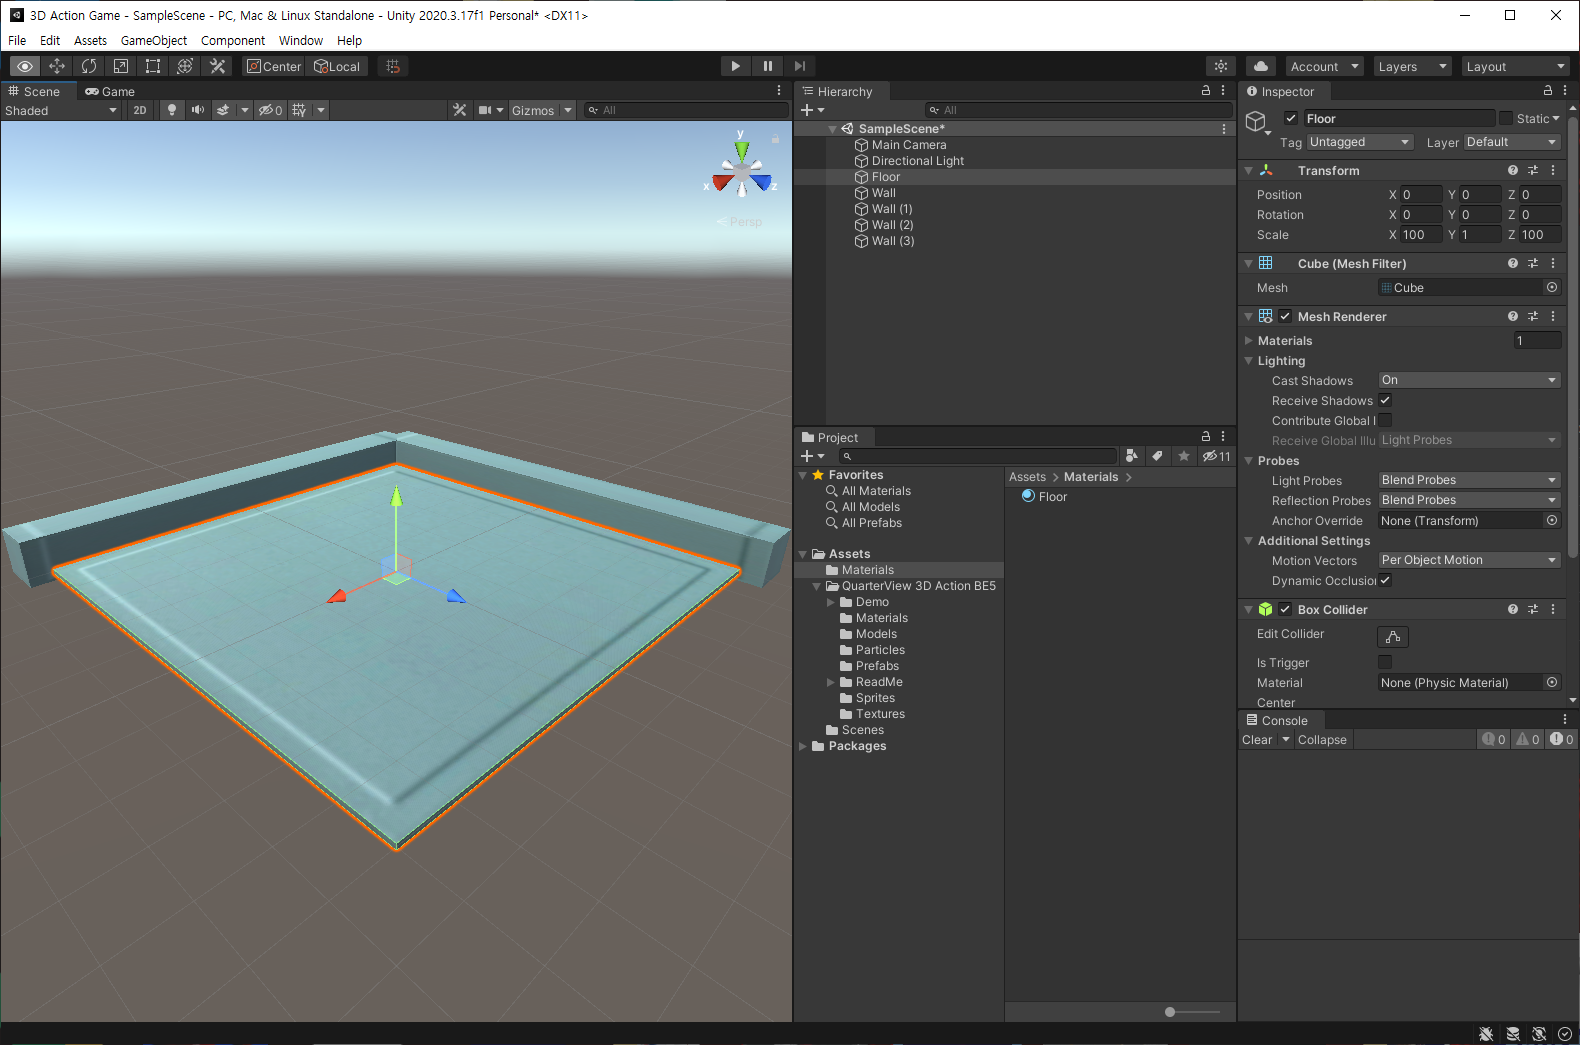
바닥과 벽면에 적용할 매터리얼을 만들고 적용시킵니다.

색을 변경하고 타일 갯수를 늘려줍니다.
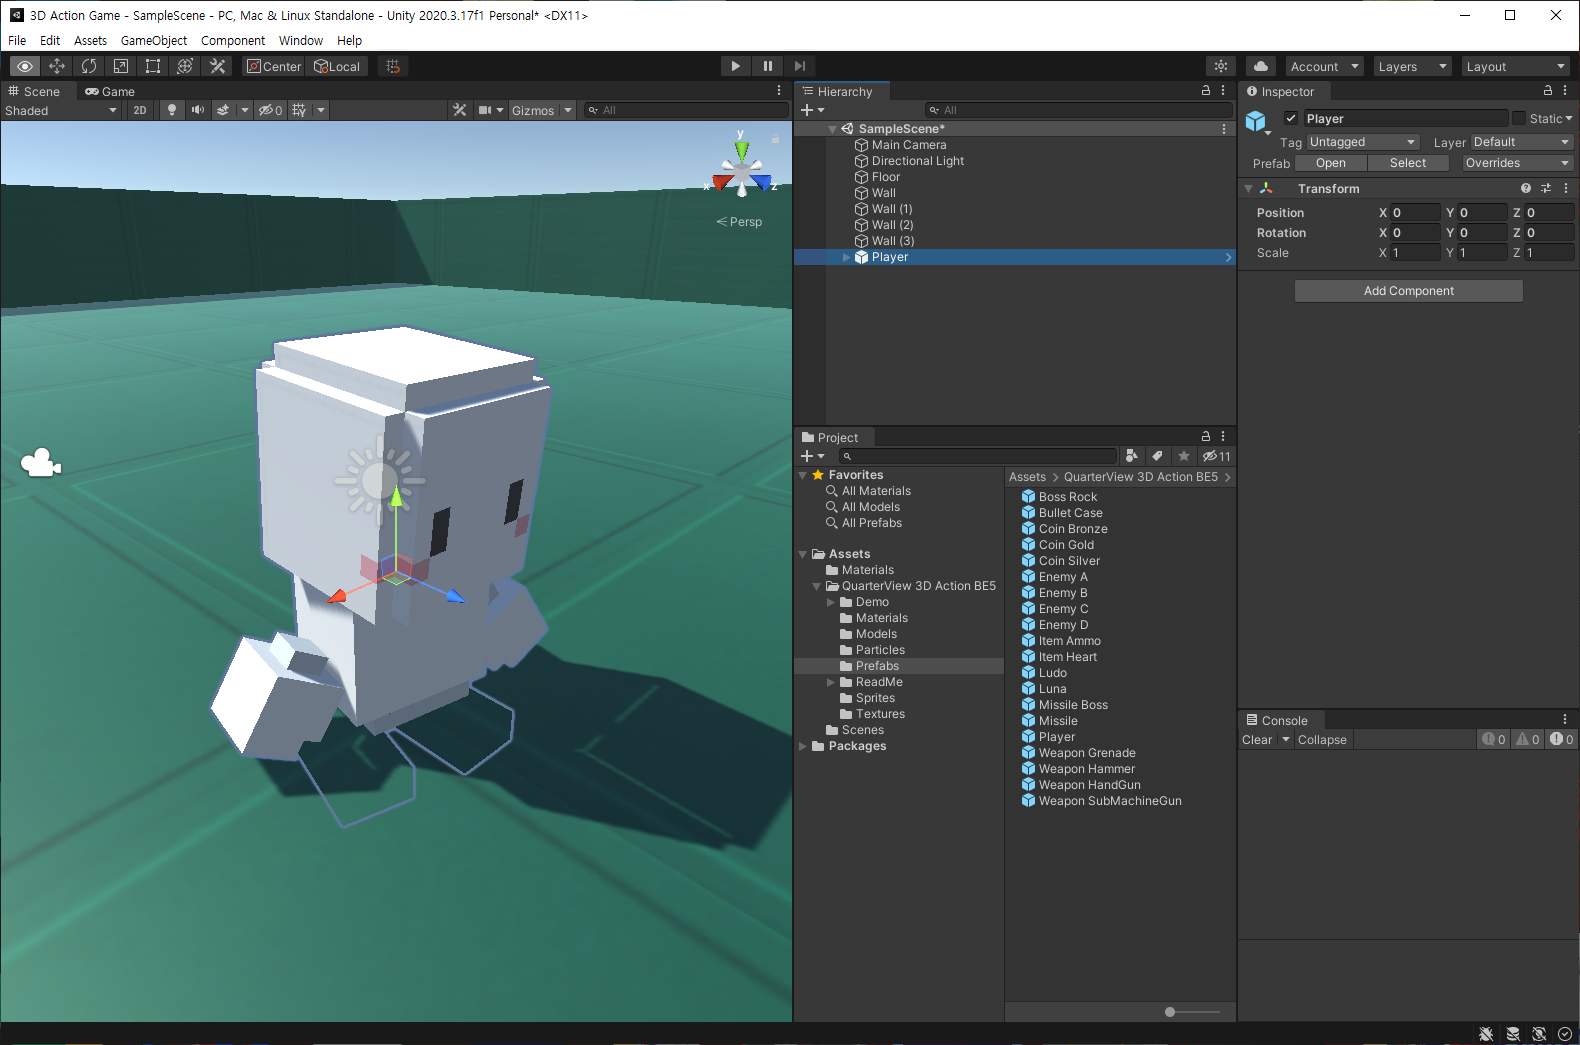
프리팹에서 플레이어를 가져와줍니다.
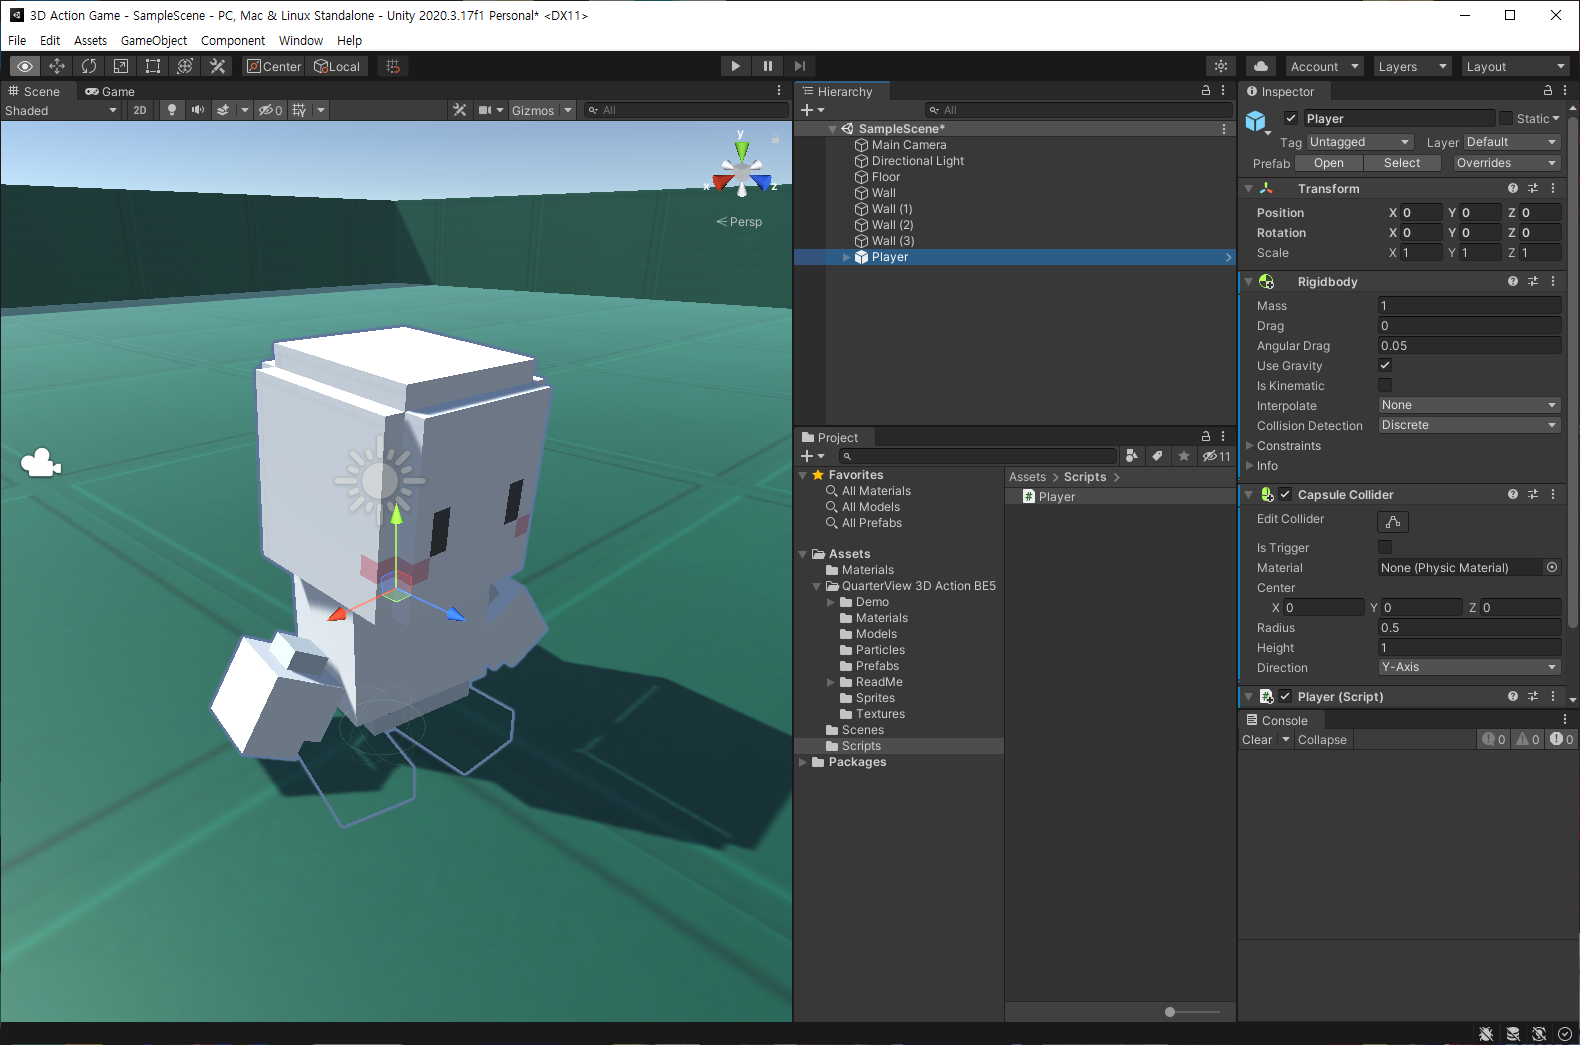
리지드바디와 캡슐콜라이더, 빈 스크립트를 넣어줍니다.
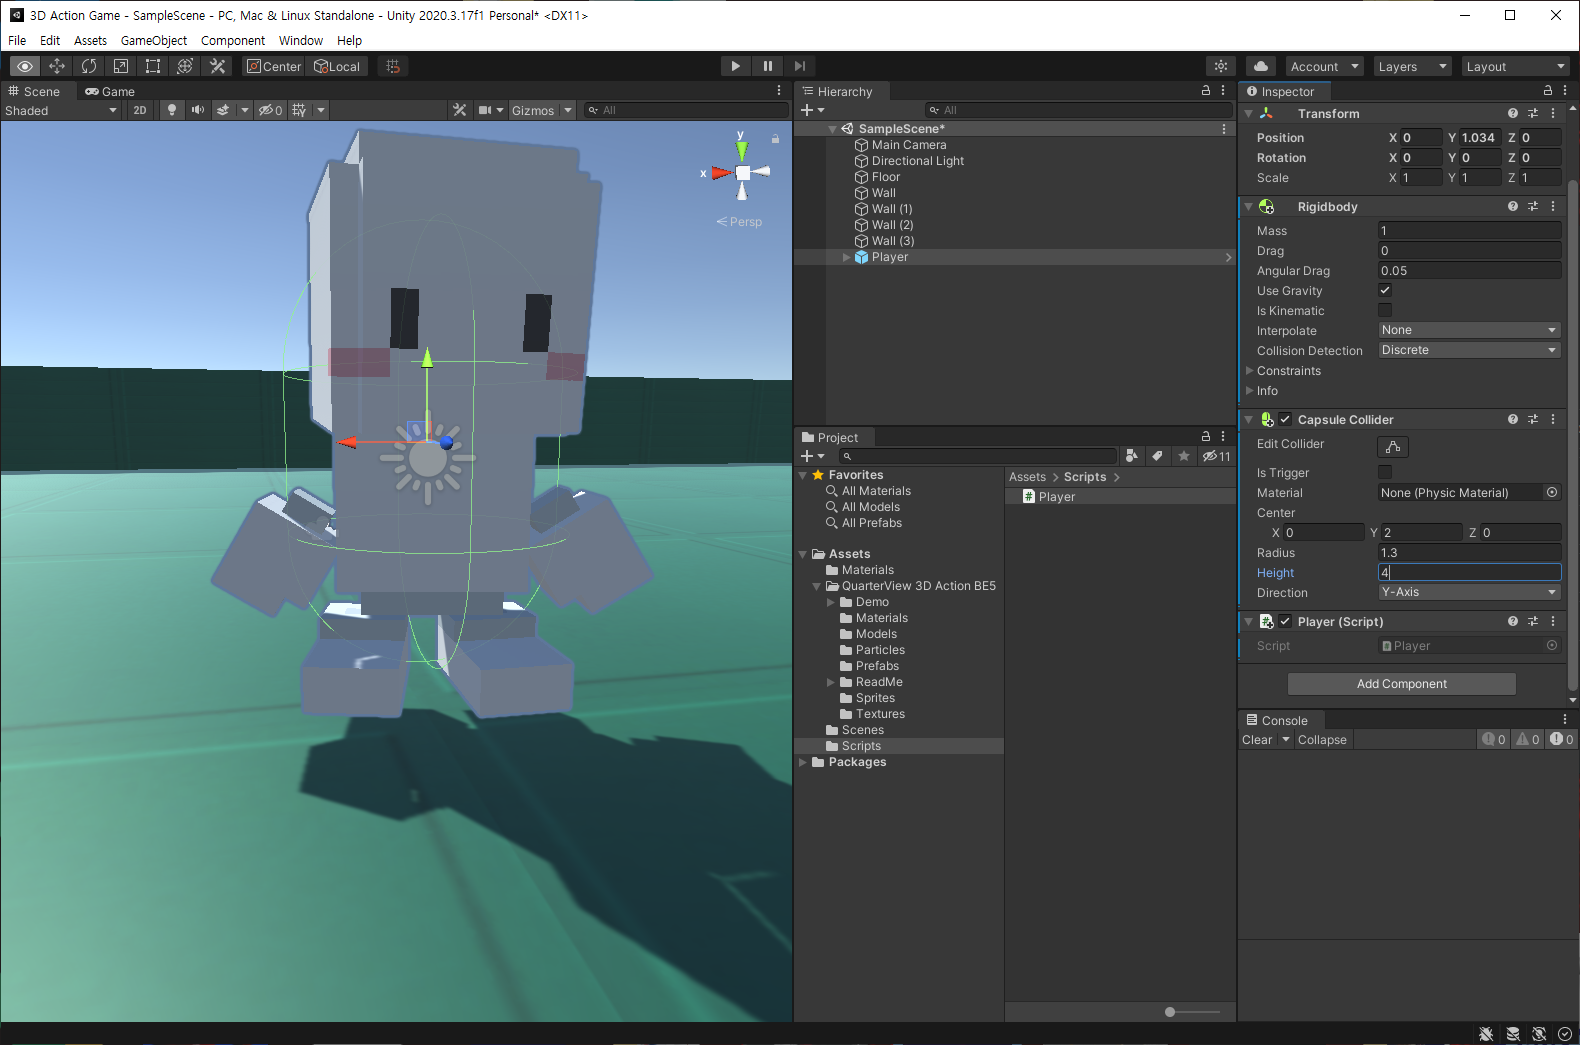
캡슐콜라이더 크기를 조정해줍니다.
using System.Collections;
using System.Collections.Generic;
using UnityEngine;

public class Player : MonoBehaviour
{
    public float speed;
    float hAxis;
    float vAxis;

    Vector3 moveVec;

    void Start()
    {

    }


    void Update()
    {
        hAxis = Input.GetAxisRaw("Horizontal");
        vAxis = Input.GetAxisRaw("Vertical");

        moveVec = new Vector3(hAxis, 0, vAxis).normalized;

        transform.position += moveVec * speed * Time.deltaTime;
    }
}
캐릭터 이동을 구현하기위한 스크립트를 작성합니다.
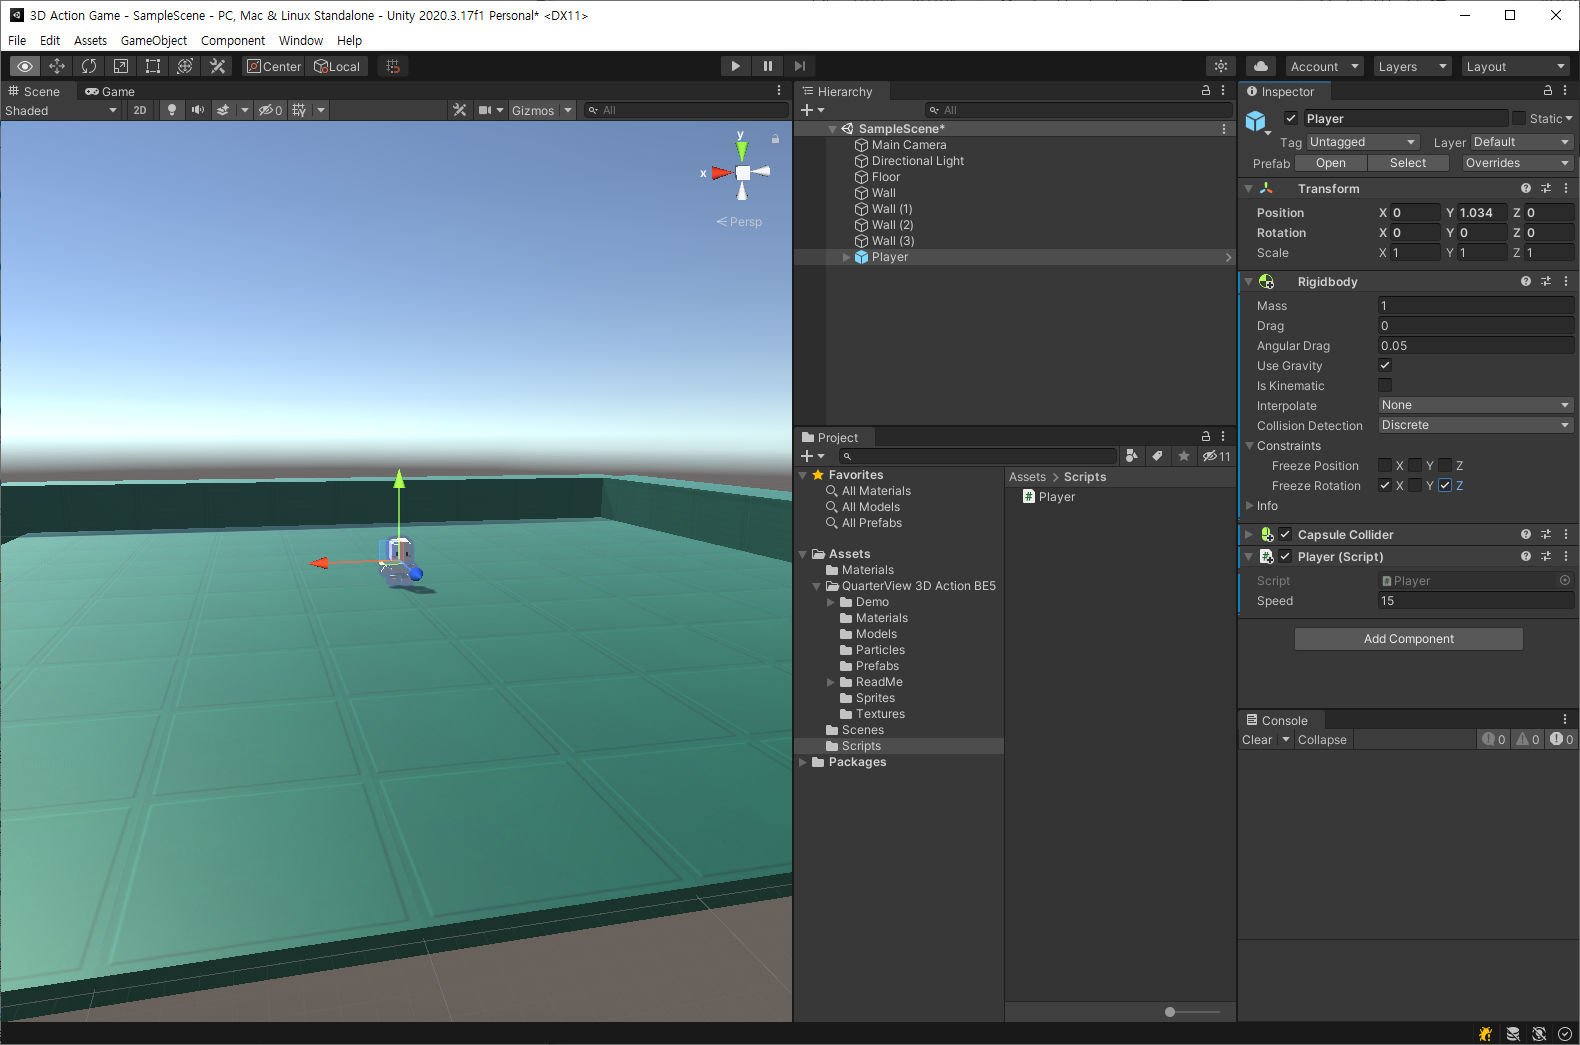
캐릭터가 관성에 의해 넘어지지 않기위해 리지드바디에서 x축과 z축을 고정해줍니다.
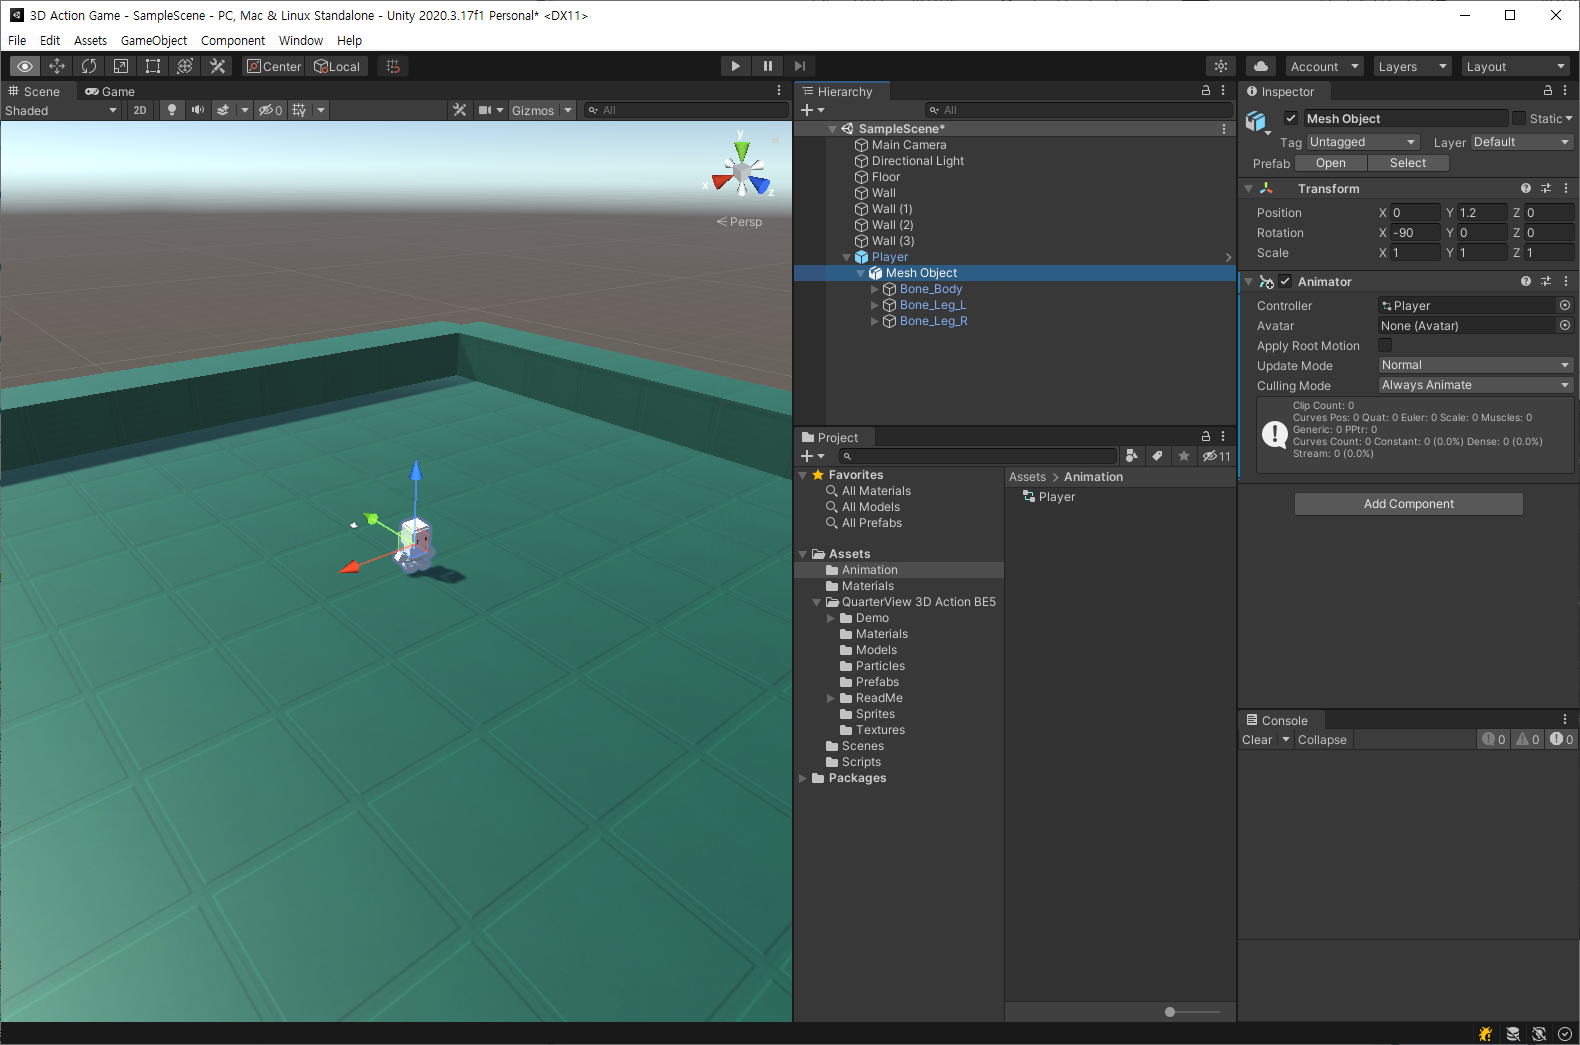
빈 애니메이터 컨트롤러를 만들어서 플레이어의 매쉬오브젝트에 넣어줍니다.
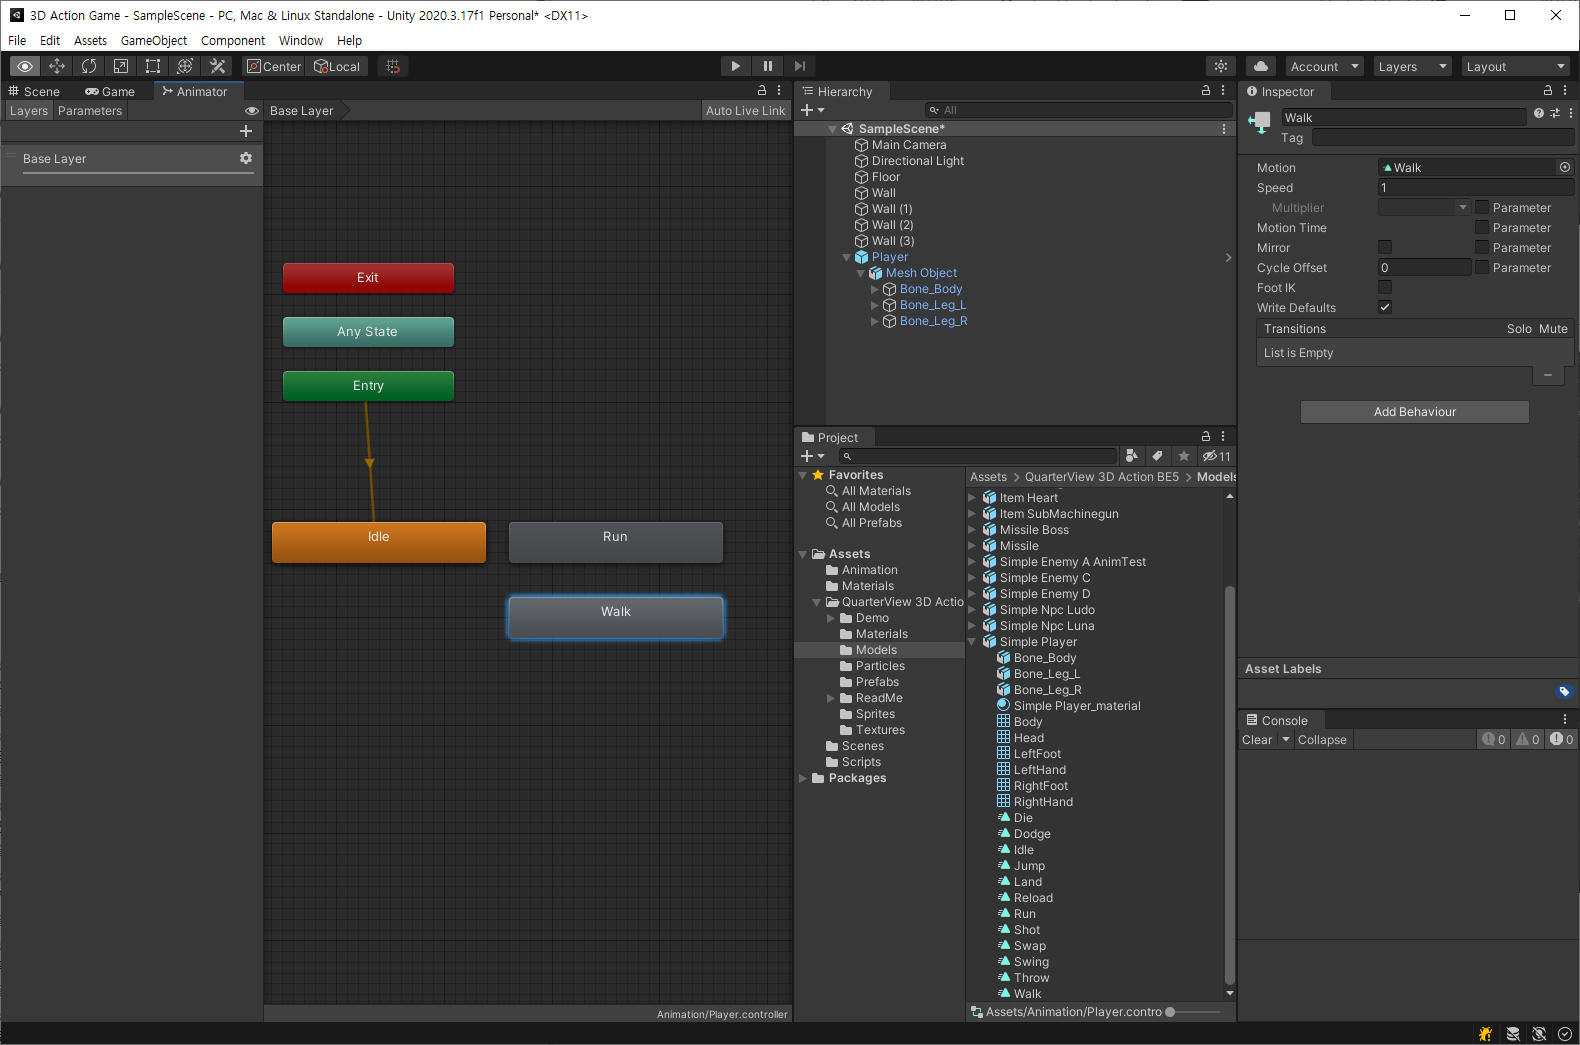
애니메이터에서 준비된 모델 idle, Walk, Run을 가져와줍니다.
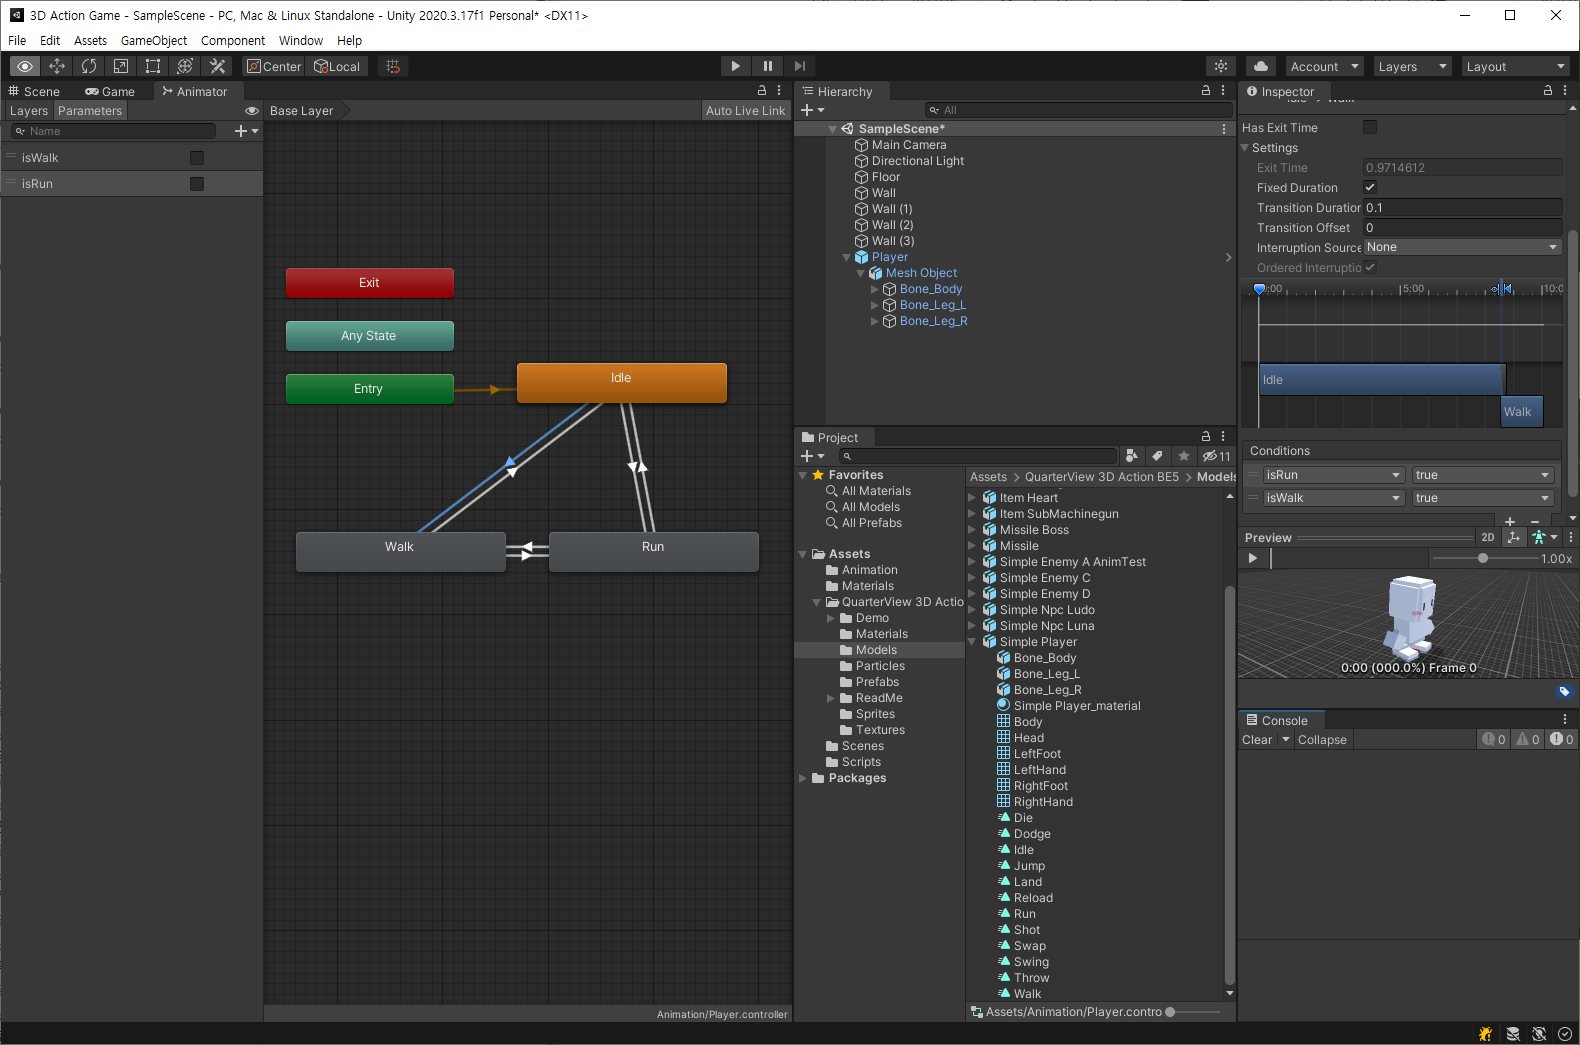
애니메이션간에 연결하고 트랜지션을 설정해줍니다.
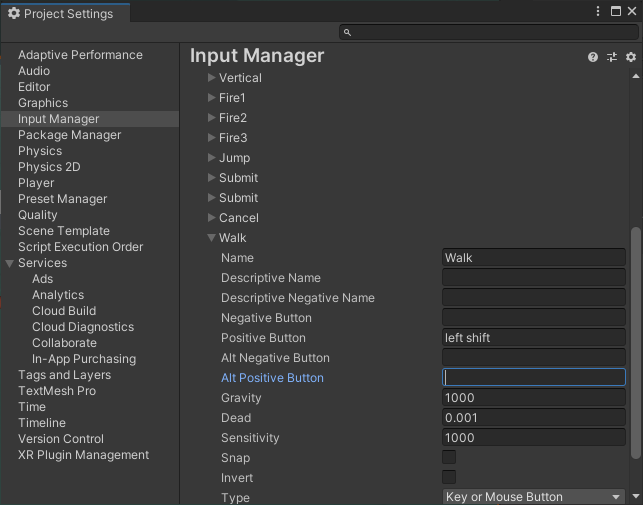
쉬프트를 누른상태에선 걷게 하기 위해 프로젝트 셋팅에서 키를 추가해줍니다.
using System.Collections;
using System.Collections.Generic;
using UnityEngine;

public class Player : MonoBehaviour
{
    public float speed;
    float hAxis;
    float vAxis;
    bool wDown;

    Vector3 moveVec;

    Animator anim;

    void Awake()
    {
        anim = GetComponentInChildren<Animator>();
    }


    void Update()
    {
        hAxis = Input.GetAxisRaw("Horizontal");
        vAxis = Input.GetAxisRaw("Vertical");
        wDown = Input.GetButton("Walk");

        moveVec = new Vector3(hAxis, 0, vAxis).normalized;

        transform.position += moveVec * speed * Time.deltaTime;

        anim.SetBool("isRun", moveVec != Vector3.zero);
        anim.SetBool("isWalk", wDown);
    }
}
애니메이터에서 설정한값을 사용할수있게 스크립트를 수정해줍니다.
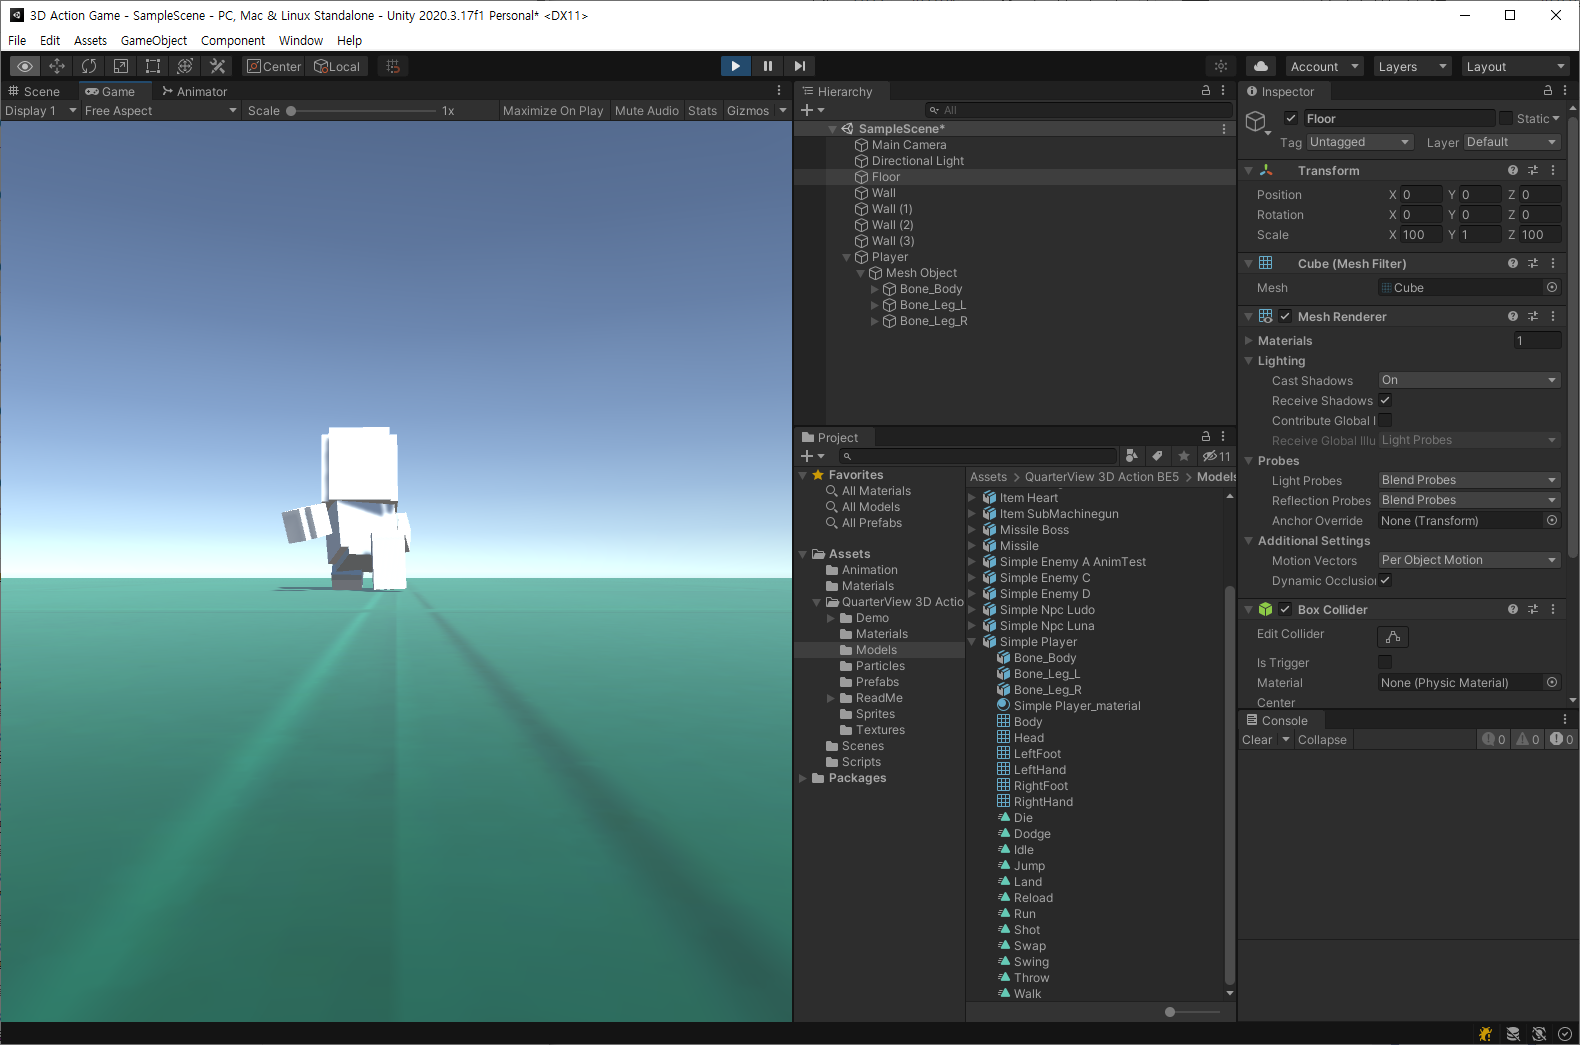
플레이해보면 뛰기와 걷기 모두 정상적으로 동작합니다.
그러나 쉬프트 키 여부에 따라 걷기와 뛰기의 애니메이션만 다를뿐이지 이동속도가 같은 상태입니다.
using System.Collections;
using System.Collections.Generic;
using UnityEngine;

public class Player : MonoBehaviour
{
    public float speed;
    float hAxis;
    float vAxis;
    bool wDown;

    Vector3 moveVec;

    Animator anim;

    void Awake()
    {
        anim = GetComponentInChildren<Animator>();
    }


    void Update()
    {
        hAxis = Input.GetAxisRaw("Horizontal");
        vAxis = Input.GetAxisRaw("Vertical");
        wDown = Input.GetButton("Walk");

        moveVec = new Vector3(hAxis, 0, vAxis).normalized;

        transform.position += moveVec * speed * Time.deltaTime;

        if (wDown)
            transform.position += moveVec * speed * 0.3f * Time.deltaTime;
        else
            transform.position += moveVec * speed * Time.deltaTime;

        anim.SetBool("isRun", moveVec != Vector3.zero);
        anim.SetBool("isWalk", wDown);
    }
}
쉬프트를 눌러서 걸을땐 이동속도에 0.3을 곱하도록 if문을 추가해줍니다.
이제 이동하는 캐릭터를 카메라가 따라다니게 하기위한 스크립트를 새로 작성합니다.
using System.Collections;
using System.Collections.Generic;
using UnityEngine;

public class Follow : MonoBehaviour
{
    public Transform target;
    public Vector3 offset;
    void Update()
    {
        transform.position = target.position + offset;
    }
}
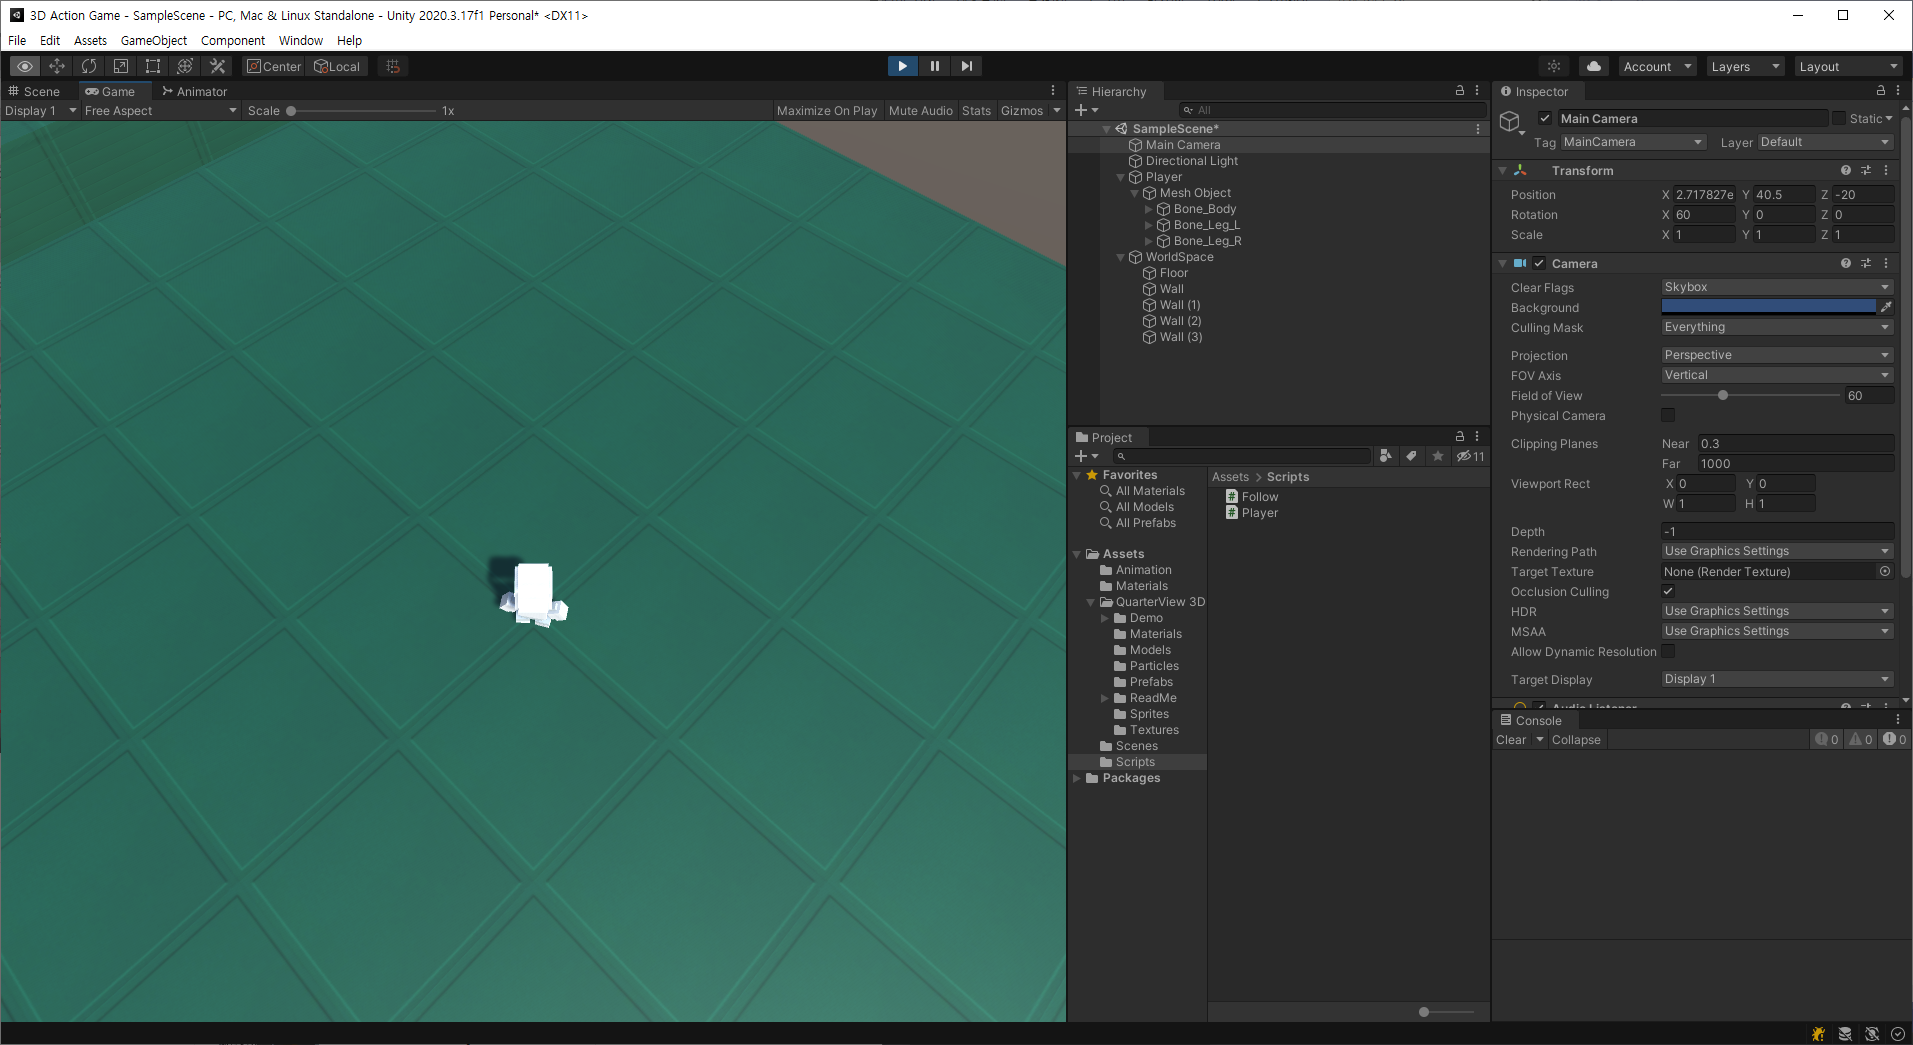
메인카메라의 기본위치는 보여주고자 하는 정도에 따라 계속해서 수정합니다.
지금은 (0,40,-20)입니다.
바닥과 벽들은 WorldSpace를 만들어 전부 자식으로 밀어놓고
WorldSpace의 로테이션을 돌려 화면을 대각선으로 바꿔줍니다.

화면의 로테이션을 수정하면서 처음에 보이는 벽과 보이지 않는 벽을 바꿔야 될 필요성이 있습니다.
그리고 달리기와 걷기가 캐릭터 이동에 비해 애니메이션이 느린 느낌이 있습니다.
둘 다 수정해줍니다.
'유니티 > AA(3D 쿼터뷰 액션 게임)' 카테고리의 다른 글
| AA(7) - 캐릭터 변경하기 (0) | 2021.09.10 |
|---|---|
| AA(5) - 아이템 만들기 (0) | 2021.09.08 |
| AA(4) - 플레이어 회피 (0) | 2021.09.01 |
| AA(3) - 플레이어 점프 (0) | 2021.08.30 |
| AA(2) - 코드 정리 (0) | 2021.08.30 |